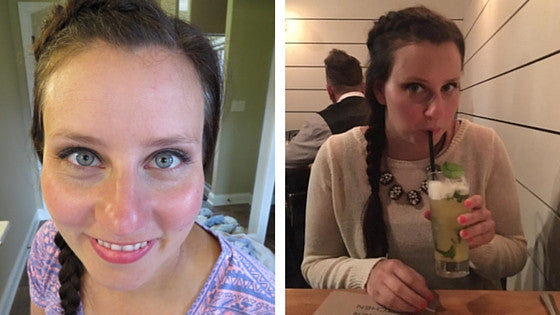
Sitting in your bathroom on a Saturday afternoon wondering how to doll yourself up for your date that night? Style Lust Shop has got you covered! We were doing the exact same thing this Saturday night, and decided to do a fun little makeover that is easy and polished, yet still looks effortless. Here we did a braided hairstyle and a quick brown-hued “smoky” eye. It’s demure enough to wear to work, but striking enough to transition out to dinner and drinks.
I like to start with the hair first, so that when you go to do your make up, your hair is already pulled up and out of the way. For this look, we started with clean and dry hair with no product in it, and decided to transition a side braid starting at the face into a long braid.
To work up some volume on the top and crown of the head, I clipped the top part of the hair and sprayed in a volumizing spray at the roots and massaged into the hair.
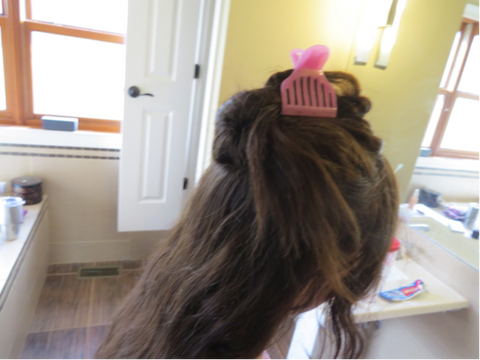
Once the product was fully worked in, I quickly ran a brush through the the middle to ends of the hair to allow me to braid the hair more easily.
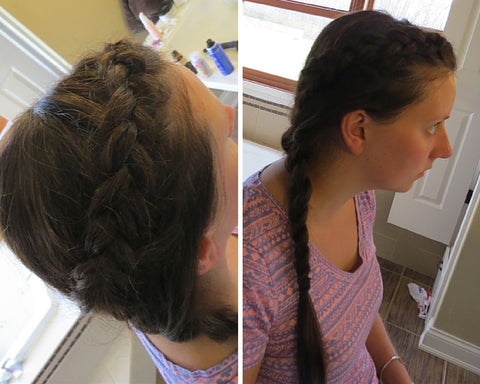
2. Next, I made a clean, even side part, and swept aside the hair on the smaller side. The trick to a good milkmaid-esque braid (in my opinion), is to braid the hair under, instead of over. Typically you would take the strands and pull over to braid, but this style pops when you pull them under. It can take a few tries to get the hang over it, but it looks so good when you get it down! Start on the side of the part with the most hair and start with an approximately 1 inch piece at the front. Begin your braid and follow the shape of the face and back over the top of the ear. I purposely left a bit of loose hair over the top of the ear to help make the overall look a bit messier. I like to braid this part as tightly as possible as this point - we’ll go back later and loosen things up. Once you reach the back of the head, in between the crown and the nape of the neck, secure the braid withtwo bobby pins. 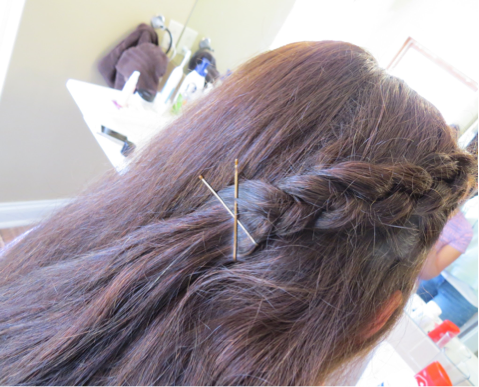

3. Once your braid is secure, grasp all of the remaining hair left and form into three large strands. It is helpful to place all of milkmaid braid into one of the large strands, so that you don’t have to worry about keeping the top braid together while working on the bottom half. Begin braiding the hair while angling the braid to one side. Braid all the way to the end and secure with a hair tie. Once everything is secured, go back and remove the bobby pins from the top half of the braid.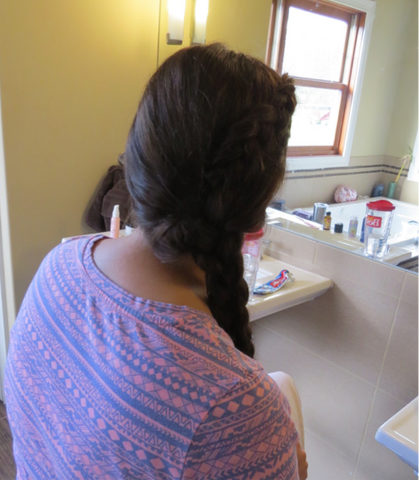

- Now comes the fun part! I added in a bit of texture spray and went back and loosened up both braids. I started at the bottom of the large braid and gently pulled and spread the strands to loosen and soften the braid. Repeat on the top braid. You can do this as much or as little as you want, and it completely transforms the style.
-
Once I finished loosening everything up, I lightly sprayed with a light hold finishing spray all over.
 This hairstyle can take you from the office to dinner and something you can throw together in 15 minutes or less!Now that we’ve got your hair settled, let’s start the make up! This is my favorite thing to do, and every time I’m with my sisters, they request me to do their make up. It’s such a fun way to catch up and try out new things on them!For the makeup, I did a more dramatic eye, and kept the face and lip neutral to balance the look out.
-
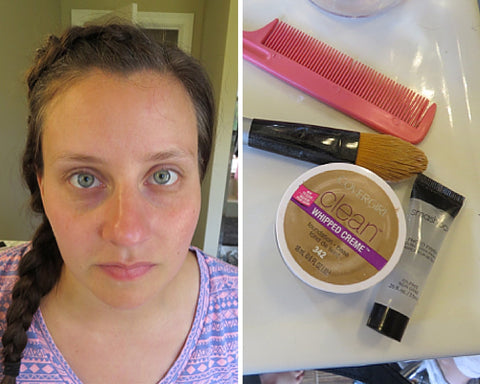
I started my makeup with a generous application of facial moisturizer (usually applied before I start my hair, so that it can fully absorb), followed up by a facial primer. After that, I applied a light coverage foundation all over to even out the tone.
- The next thing I like to do is to get the eyes done, and then apply the concealer afterwards. This helps to avoid eyeshadow powder, etc. from falling onto your fresh concealer and messing it up!
- To start the eyes, I applied an eyelid primer to both eyes. Next, I chose 3 colors in which I wanted to blend on the eye to create a smoky look. Starting with the lightest color, I swept it all over the eyelid. I then took the next lightest color and applied it lightly right over the pupil area.
The best blending tool I’ve found is my middle or ring finger! Using my finger, I gently blended this color toward the corner of the eye. Lastly, using the darkest color, I applied it at the outer corner and crease. For the darker shades, a little goes a long way, so I start with just a tiny bit and add more as needed. Again using my finger, I blended this shade into the crease and towards the inner eye. You want all three shades to blend together, with no harsh breaks.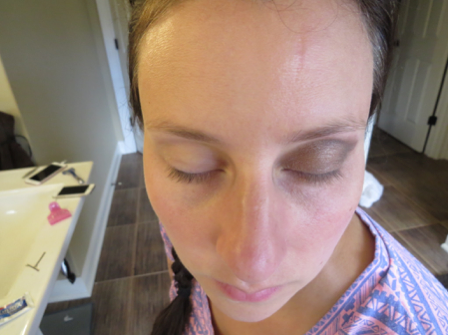
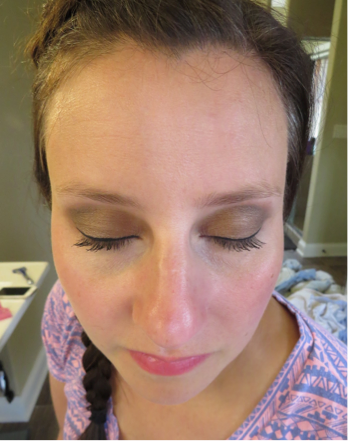
- Next, using a thin black liner (liquid is my jam, but use whichever formula you prefer!), start in the inner corner and begin drawing a thin line across the lash line. I like to stop about every third of the way across, re-ink my applicator (and give my hand a rest!), and then continue to pencil in the line. Once you have a good base line, I like to wing out the liner by tracing a line up and out from the outer corner of the eye.
If you’re new to this, it helps to start with a ruler or something else straight as your guide. Once you have your “upward flick”, you can trace back to the eye on top to create a hollow cat eye. Once that is completed, I like to go back to the inner eye and slightly thicken and even out a nice line all the way to the wing, filling in the blank areas as I go. Eyeliner, and in my opinion, liquid liner is one of the hardest things to master, and took lots of practice on my part. If you mess up, don’t worry! Just wipe it up, and start over!-
After perfecting the eyeliner, I applied 2 - 3 coats of mascara to finish of the eye. Once the eye make up is completed, I applied under eye concealer to cover up any dark circles, and lightly filled in the eyebrows with brow gel.
-
Lastly, to finish the look, I applied a nice gel blush to bring some color to the cheeks, and a light pink lip balm. Every makeup session should be finished with, at the very least, a swipe of clear gloss or balm. It polishes and finishes the final look!
 There you go - there is our long guide to a quick makeover to get you ready for whatever adventures you have in store! If you try these looks out, let us know how they turn out!
-


2 comments
tGvAcmzpanxI
EecAapWHwOY